Nissan Sentra B18 (2020-2025) Service Manual: Preparation
Special Service Tools
The actual shape of the tools may differ from those illustrated here.
|
Tool number (TechMate No.) Tool name |
Description |
|
|---|---|---|
|
 — (NI-52990) |
 |
Fluorescent Oil Dye |
|
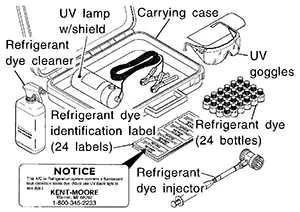
 — (NI-43926) A/C Leak Detection Kit Kit includes:
|
 |
Power supply:
|
|
 |
CVT fluid changing and adjustment |
|
( — ) (NI-52584) CVT stand pipe adapter kit |
 |
CVT fluid changing and adjustment |
|
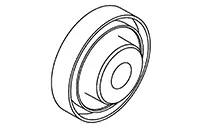
KV38107900 (NI-52469–1) Differential side oil seal protector |
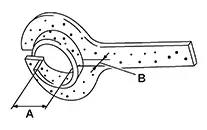 |
Installing drive shaft A: 32 mm (1.26 in) dia B: Minimum 23 mm (0.91 in) |
|
(NI-02611) CVT charge pipe cap release tool |
 |
Removing CVT charge pipe cap |
|
— (NI-51951) Borescope kit |
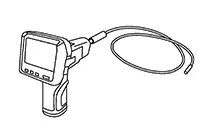 |
CVT belt visual inspection |
|
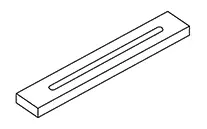
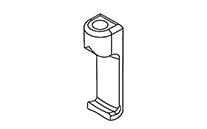
KV315J0400 (NI-50271) Gauge block |
 |
|
|
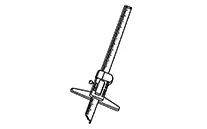
KV315J0500 (NI-50272) Digital depth gauge |
 |
|
|
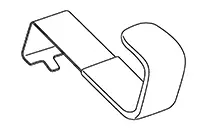
KV315J0620 (NI-51923) J-hook case separator |
 |
|
|
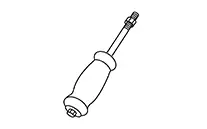
KV315J0610 (NI-25721-A) Slide hammer |
 |
|
|
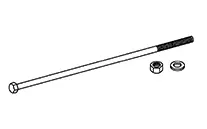
KV315J0630 (NI-50255–UPD) Slide hammer nut and bolt kit |
 |
|
|
KV31500300 (NI-52272) Guide pins |
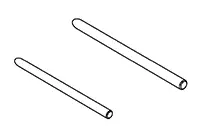 |
Removing/Installing sub-assembly |
|
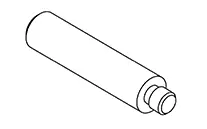
KV31501200 (NI-52281) Output seal installer, case side |
 |
Installing differential side oil seal (case side) |
|
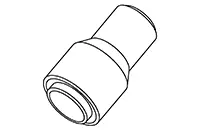
KV31500910 (NI-52282) Output seal installer, torque converter side |
|
Installing differential side oil seal (torque converter side) |
|
ST35325000 (NI-8092) Driver handle |
 |
Installing oil seal |
|
— (NI-53062) Torque converter seal installer |
 |
Installing converter housing oil seal |
|
 |
Removing/Installing sub-assembly |
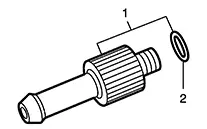
*: The O-ring as a unit part is set as a SST.
Commercial Service Tools
|
Tool number Tool name |
Description |
|
|---|---|---|
|
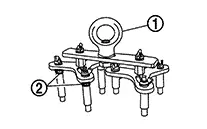
Torque adapter |
 |
torquing nuts and bolts |
|
Power tool |
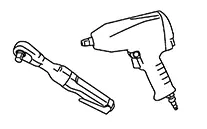 |
Loosening nuts and bolts |
|
Hydraulic lift table |
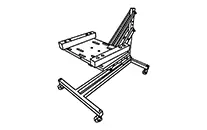 |
Removing front suspension member |
|
Transmission jack |
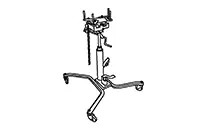 |
Removing transaxle assembly |
 Preparation
...

Other materials:
Bulb or Lens Replacement
Bulb or Lens Replacement
Warning:
Do not touch bulb while it is lit or right after
being turned OFF. Burning may result.
CAUTION:
Do not attempt to separate the vanity mirror lamp
from the sun visor or damage to the components may occur.
...
Removal and Installation
Removal and Installation
REMOVAL
Using
suitable tool, lift rear fender cover to release clips. Refer to Exploded View.
Remove rear
fender cover.
INSTALLATION
Installation is in the reverse order of
removal.
CAUTION:
Clean mounting area and rear fend ...
Removal and Installation
Removal and Installation
REMOVAL
Using a
suitable tool, release pawls and remove the instrument side
finisher LH (1).
:
Pawl
Remove the
fuel filler handle assembly. Refer to Exploded View.
Using a
suitable tool, release the instrument lower panel LH clips and
...
