Nissan Sentra Service Manual: Drive plate
Exploded View
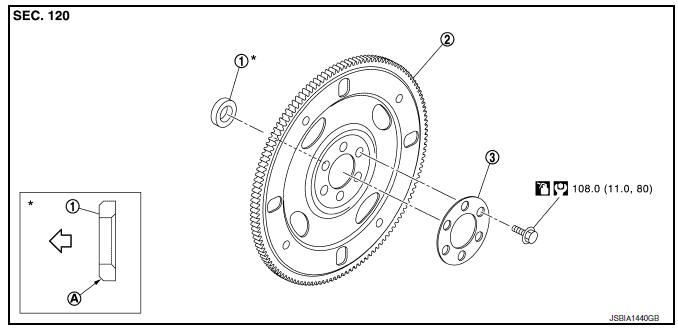
- Pilot converter
- Drive plate
- Reinforcement plate
- Chamfered
Removal and Installation
REMOVAL
- Remove the engine and the transaxle assembly from the vehicle, and separate the transaxle from the engine. Refer to EM-86, "CVT : Exploded View".
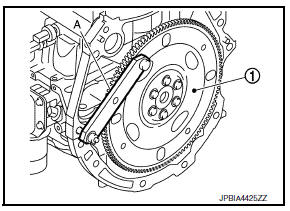
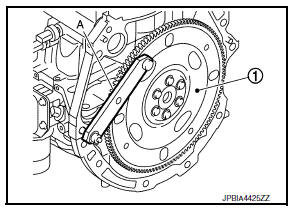
- Remove drive plate.
- Secure drive plate (1) using Tool (A), and remove bolts using suitable tool.
Tool number : KV11105210 (J-44716)
Tool number : KV11105210 (J-44716)
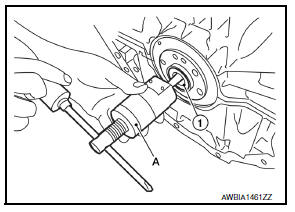
- Remove pilot converter (1), from the rear end of the crankshaft.
Use Tool (A), if necessary.
Tool number : ST16610000 (J-23907)
INSTALLATION
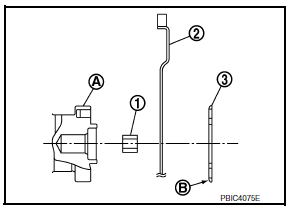
- Install pilot converter (1), drive plate (2) and reinforcement plate (3) as shown.
(A) : Crankshaft rear end
(B) : Rounded
- Using a drift of 33 mm (1.30 in) in diameter, press-fit pilot converter into the end of crankshaft until it stops.
- Install drive plate.
- Secure drive plate (1) using Tool (A), and install bolts using suitable tool.
Tool number : KV11105210 (J-44716)
CAUTION:
Be careful not to damage or scratch contact surface.
Inspection
DRIVE PLATE DEFLECTION
- Measure the deflection of drive plate contact surface to torque converter with a dial indicator (A).
- Measure the deflection at the area limited between 12.4 mm (0.488 in) dia and 20.0 mm (0.787 in) dia around hole (B).
Limit : 0.35 mm (0.0138 in) or less.
- If measured value is out of the standard, replace drive plate.

 Flywheel
Exploded View
Flywheel
Removal and Installation
REMOVAL
Remove the engine and the transaxle assembly from the vehicle, and
separate the transaxle from the
engine. Refer to TM-28, ...
 Cylinder block
Exploded View
Cylinder block
Block heater (for Canada)
Top ring
Second ring
Oil ring
Piston
Piston pin
Snap ring
Connecting rod
Connecting rod bearing (upper)
Connecting r ...
Other materials:
Steering knuckle
Exploded View
Steering knuckle
Splash guard
Wheel stud
Wheel hub and bearing
Disc brake rotor
Wheel hub lock nut
Nut retainer
Cotter pin
Removal and Installation
REMOVAL
Remove the wheel and tire using power tool. Refer to WT-47, "Exploded
View".
Remove ...
ECU diagnosis information
A/C AUTO AMP
Reference Value
TERMINAL LAYOUT
PHYSICAL VALUES
*:With manual A/C
ECM, IPDM E/R, BCM
List of ECU Reference
...
Control buttons
The control buttons for the Bluetooth® Hands-
Free Phone System are located on the steering
wheel.
PHONE/SEND
Press the button to initiate
a VR session or answer an incoming
call.
You can also use the button
to interrupt the system feedback
and give a command at once. See
“List of ...
