Nissan Sentra Service Manual: Basic inspection
Diagnosis and repair workflow
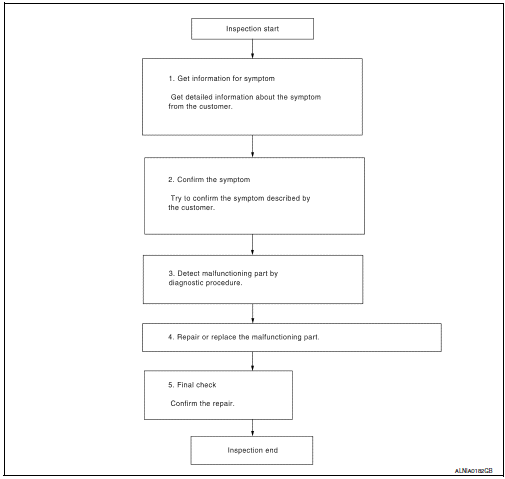
Work flow
OVERALL SEQUENCE
DETAILED FLOW
1.GET INFORMATION FOR SYMPTOM
Get detailed information from the customer about the symptom (the condition and the environment when the incident/malfunction occurred).
>> GO TO 2
2.CONFIRM THE SYMPTOM
Try to confirm the symptom described by the customer. Verify relation between the symptom and the condition when the symptom is detected.
>> GO TO 3
3.DETECT MALFUNCTIONING PART BY DIAGNOSTIC PROCEDURE
Inspect according to Diagnostic Procedure of the system.
Is malfunctioning part detected? YES >> GO TO 4
NO >> GO TO 2
4.Repair or replace the malfunctioning part
- Repair or replace the malfunctioning part.
- Reconnect parts or connectors disconnected during Diagnostic Procedure.
>> Go to 5
5.Final check
Refer to confirmed symptom in step 2, and make sure that the symptom is not detected.
Has the symptom been repaired? YES >> Inspection End.
NO >> GO TO 2
 Wiring diagram
Base audio
Wiring diagram
...
 Dtc/circuit diagnosis
Power supply and ground circuit
Audio unit
Audio unit : diagnosis procedure
Regarding wiring diagram information, refer to av-25, "wiring diagram".
1.Check fuse
Check that the following ...
Other materials:
C1116 Stop lamp switch
DTC Logic
DTC DETECTION LOGIC
DTC
Display item
Malfunction detected condition
Possible cause
C1116
STOP LAMP SW
When stop lamp switch circuit is open.
Harness or connector
Stop lamp switch
ABS actuator and electric unit
(control unit)
...
Front door glass
Removal and Installation
REMOVAL
WARNING:
Before servicing, turn ignition switch OFF, disconnect both
battery terminals and wait at least three
minutes.
Do not use air tools or electric tools for servicing.
NOTE:
LH front door panel shown; RH side similar
Disconnect the battery ...
RearView Monitor (if so equipped)
When the shift lever is shifted into the R (Reverse)
position, the monitor display shows the
view to the rear of the vehicle.
WARNINGFailure to follow the warnings and
instructions
for proper use of the RearView
Monitor could result in serious injury or
death.
The Rear ...
